How to Make an Animated Poster from a Still Image
Animate a still image with Wave in the Artfkt desktop app, keep the headline editable and stationary, and export a six-second poster as MP4 or GIF.
TL;DR
- Animate Wave’s Phase on a photograph’s own layer to turn a still image into a moving poster.
- Keep the headline on a separate untreated text layer, and inspect the six-second repeat before exporting.
- This Wave recipe requires the desktop app; save the project to retain editable text and motion settings.

To make an animated poster from a still image, place your photograph and headline on separate layers in Artfkt, add Wave to the photograph, and animate its Phase. The picture bends while the lettering stays readable. Set the timeline to six seconds, then export the full animation as MP4.
This walkthrough uses Artfkt for Apple Silicon Macs running macOS 13 or later and 64-bit Windows 10 or 11 PCs. Wave belongs to the desktop Warp collection. The free browser demo includes Glitch, Pixel, Cameras, Halftone, Drawing, Refraction, Color, Light, Collage, and Hypnosis, so it cannot reproduce this Wave treatment; browser export itself is already included.
Silent six-second example: the cream-to-photo boundary and paper folds travel in waves. The IN MOTION headline stays in the same position and does not bend. Press play to inspect the movement.
Prepare the photograph and a separate headline
Download the prepared source PNG
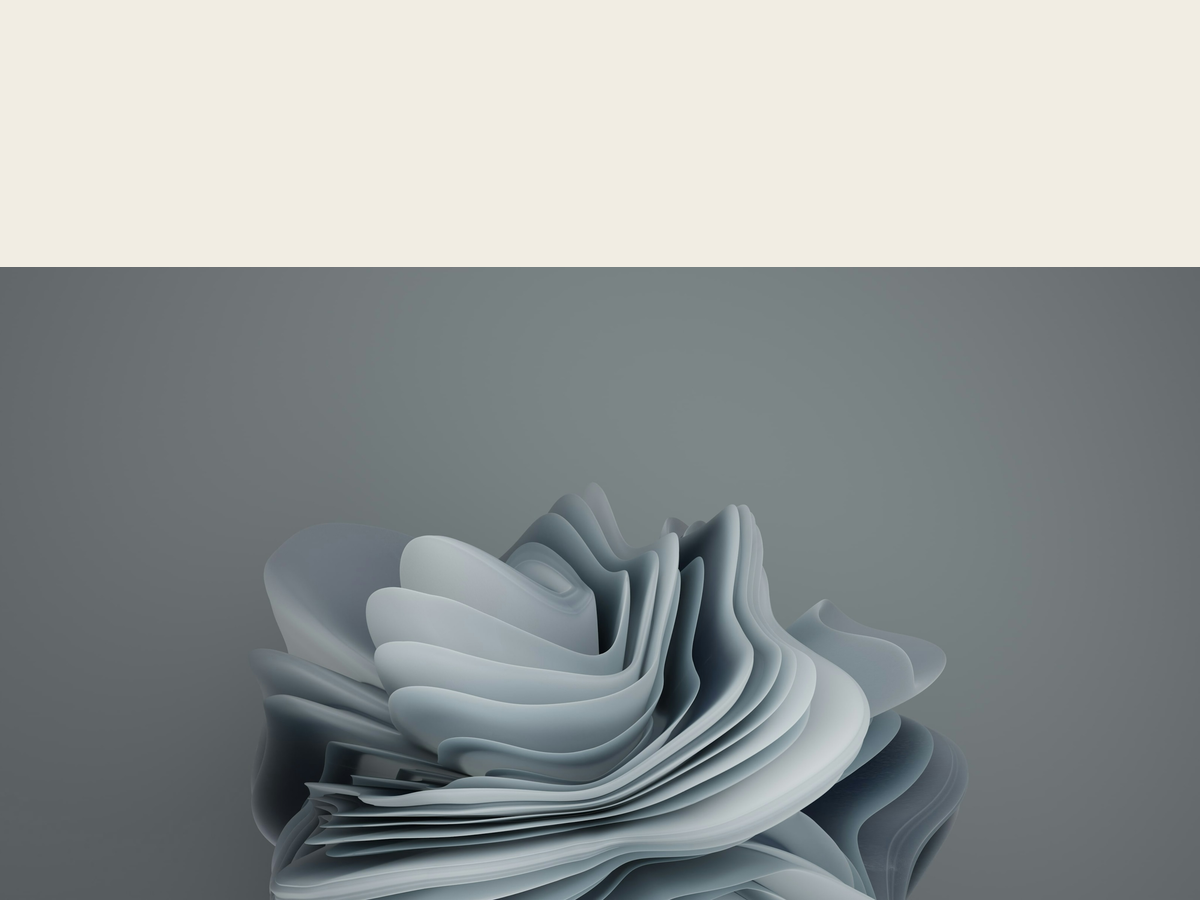
(1200 × 900, without lettering or effects). It uses a folded-paper photograph by Pat Hayden, under the Unsplash License, with cream space above it for the title.
Add that PNG to an empty composition. Keep the canvas at 1200 × 900, image scale at 100%, rotation at 0°, and the image centered. The dark folds and the straight boundary above the photo make displacement easy to see. A photograph with no clear edges gives you less to follow.
Choose Add → Text, then Edit text. Enter IN MOTION and confirm with Command+Enter on Mac or Ctrl+Enter on Windows. Use bundled Inter and these settings:
- Font size: 160 px; weight: 800; style: normal
- Color: #252a3b; alignment: center
- Letter spacing: −3 px; word spacing: 0 px; line height: 1
- Box width: 1120 px; Auto height
- X position: 0; Y position: −330
- Scale: 100%; rotation: 0°
Keep the text above the image with an empty text effect stack. The Document stack also stays empty. You can revise the words later; the lettering is not baked into the practice image.

The stationary starting composition. Only the image layer will receive Wave.
Add Wave to the image layer
Select the image layer, find Wave in the FX catalog, and add it to that layer’s stack. Use:
- Wave height: 3.50%
- Wavelength: 25.00%
- Angle: 90°
- Manual Phase: 0°; Mix: 100%
Wave height controls the displacement distance; Wavelength controls how often it repeats. Start with these moderate values before making the pattern stronger. Angle changes the displacement direction, not the rotation of the photograph.
The cream field is part of the source PNG. Its boundary bends too, creating a clear moving division under the headline. For a composition without that boundary, use a full-frame photograph instead.
Animate Phase across six seconds
Open the composition’s Motion panel and enable Composition motion. Use Pattern: Sawtooth, Pattern timing: Fit cycles, and Cycles: 1. Leave pattern phase at 0°, direction Forward, and Motion speed at 1×.
In Timeline settings, set Timeline duration: 6 seconds, Simulation FPS: 30, Playback speed: 1×, and Timeline completion: Repeat. Leave Tempo at 120 BPM; the duration here is expressed in seconds.
Enable Motion: Wave. Beside Phase, open its motion settings, choose the shared motion source, and set its numeric range From 0° to 360°. Leave its schedule at the whole timeline. The other Wave controls stay at the manual values above. Press Play.
The shared sawtooth advances Phase through one cycle. This moves the existing wave pattern across the picture instead of repeatedly making the distortion larger and smaller. It uses procedural motion, with no keyframes to place.
At 1.5 seconds, Phase has reached 90°. Compare the curved boundary with the untreated reference; the headline is unchanged.
Watch several repeats before exporting. Inspect the join as well as the middle of the animation; choosing Repeat does not by itself guarantee a seamless result for every effect stack.
Keep the words still and the picture readable
If the headline moves, check which stack contains Wave. A Document effect processes the combined poster, including the text. Move Wave to the image layer’s stack. The poster layer walkthrough explains that separation, and editable text effects covers changing words after styling them.
If the folds become difficult to recognize, reduce Wave height before changing the timing. If nothing moves, check all three requirements: Composition motion on, Motion: Wave on, and Phase set to Shared. Pressing Play advances time but does not enable disabled motion controls.
Wave distorts the photograph’s pixels. It does not reconstruct a 3D paper object or reveal hidden parts of the photographed sculpture. Inspect the frame edges and keep important details away from the boundary if they get stretched.
Export the animated poster as MP4 or GIF
Open Settings → Export Settings → Quick Export. Enable Include animation, choose MP4, set Optimization: Custom, Size: Maximum edge, and Maximum edge: 960 px. Use Quality: 80, Frame rate: 30, and Document background. Close Settings, then choose Quick Export → MP4 in the toolbar.
These settings produce a 960 × 720, six-second video with 180 frames in our capture. Quick Export uses the full timeline, even if playback is paused partway through it. Codec availability and rendering limits depend on the browser/device; an unavailable MP4 option is not fixed by changing the effect.
For GIF, select GIF in Quick Export settings, keep the same dimensions, and use 15 fps, 256 colors, Dithering on, and Loop: Forever. Then choose Quick Export → GIF. We verified a six-second, 90-frame GIF with these settings. It was about 19.4 MB, compared with 0.65 MB for this MP4. Those sizes describe this example only: reduce GIF dimensions or duration when the file is too large.
Keep an Artfkt project to preserve the editable headline and motion settings. The exported video or GIF is a flattened result. Explore the Warp collection for other distortions, or use the purchase action below for the desktop studio.
How this example was made
The still comparisons and silent animation were rendered through Artfkt’s production effect engine with the same prepared photograph and separate Inter text layer. The renders used WebGPU at a 1200 × 900 document size and 30 simulation frames per second. MP4 and GIF were encoded through the product’s export pipeline, at the settings above, and inspected locally. Rendering and compression may vary by device.
The photograph is credited above; the motion and text shown here were rendered by the product.
For music releases, follow how to make a Spotify Canvas from album art: choose a whole-bar phrase, link one control to a manual beat grid, and export a silent vertical MP4.
Make something unexpected
Keep exploring in Artfkt.
Bring all collections and multiple image layers together in one desktop studio. Build a look, shape its motion, and save your next starting point.