Treat each poster layer with its own effect stack
Give the picture and the lettering their own effect stacks, then finish the poster with one global treatment in Artfkt for Mac.

Each image layer in Artfkt can carry its own effect stack. Global Stack then treats the finished poster. This example screens a geometric field, recolors the lettering on its own, and adds a light grain across both.
Use one image when one treatment is enough
The free Glitch demo stacks effects on a single image and can export that result. Its poster guide separates color edges and then shifts a few bands on one flattened graphic. Use the desktop studio when the picture and the type need different treatments. Artfkt runs on Apple Silicon Macs with macOS 13 or later and includes the full collection library, catalog search, and favorites.
See the single-image glitch poster or try the free demo.
Place the field under the lettering
Download the field PNG
and
download the lettering PNG
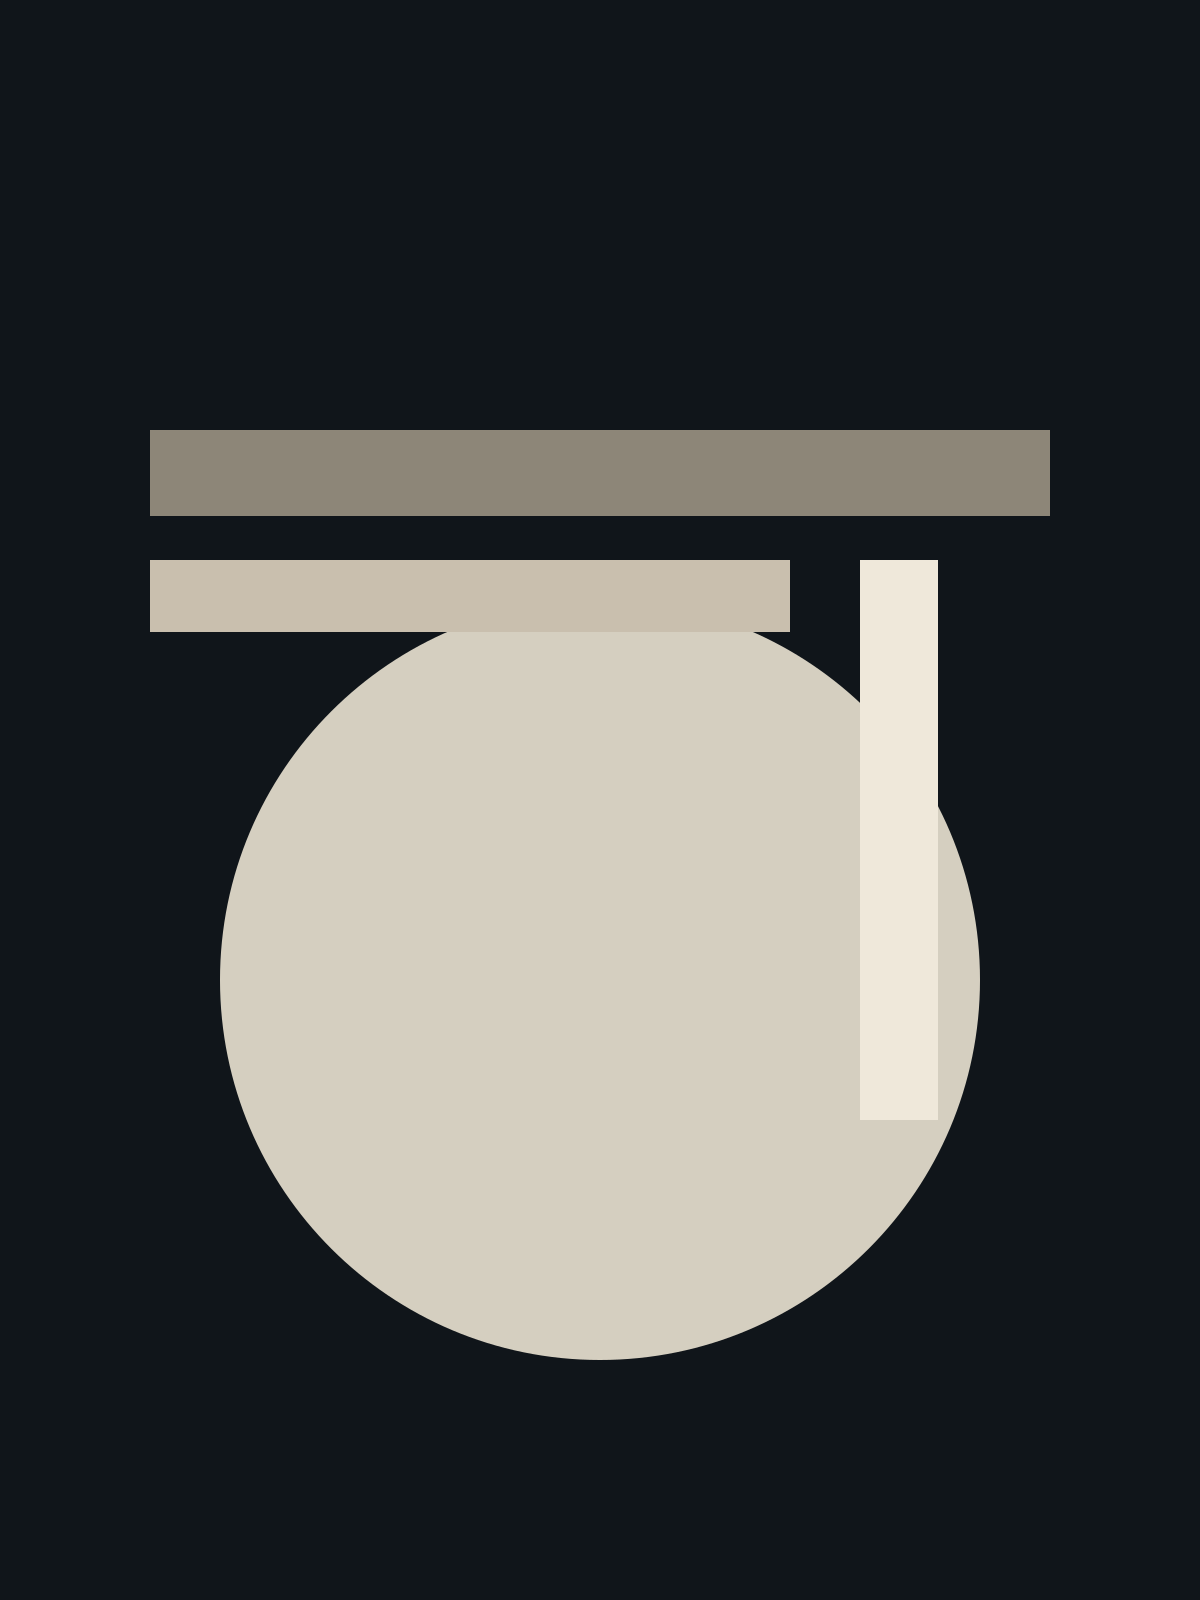
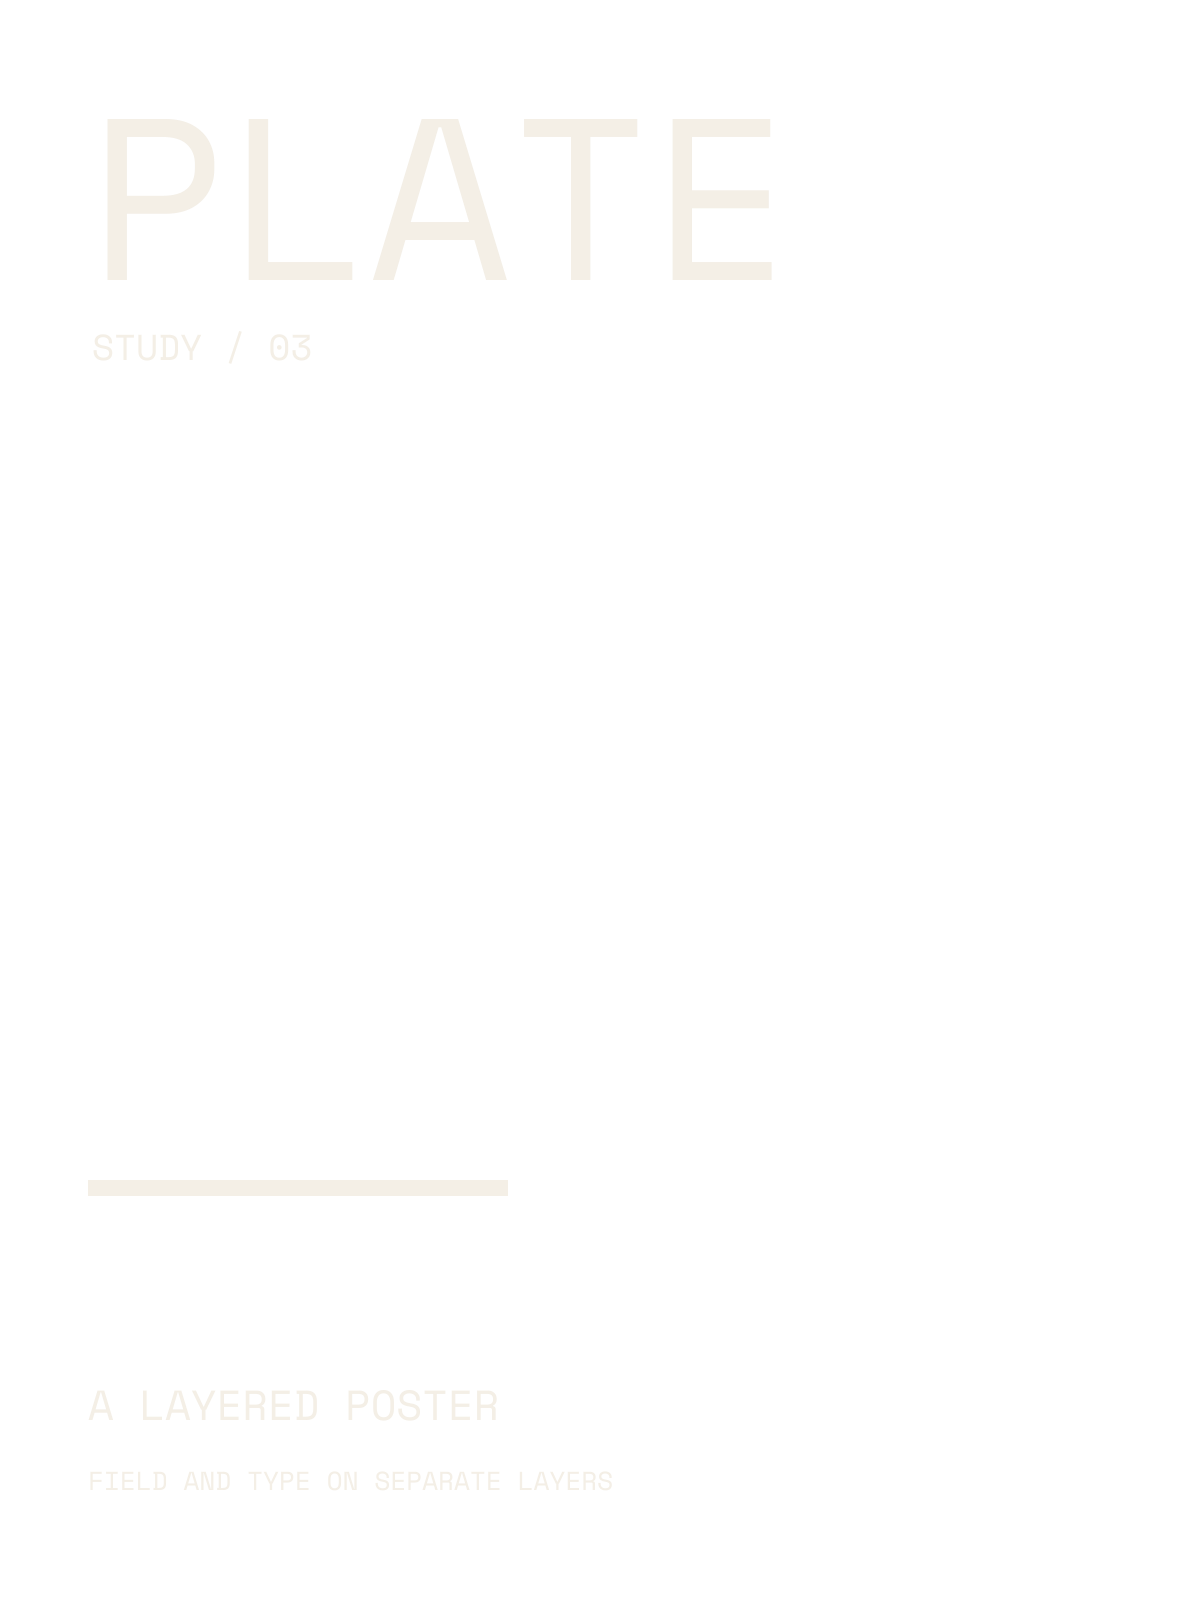
(both 1200 × 1600). The field is an opaque plate: a circle, two bars, and a vertical strip. The lettering is pale type on a transparent background, so the field can show through.


Start a new session and add the field first. An empty canvas takes that image’s size, so the poster becomes 1200 × 1600. Add the lettering next. It appears above the field in Layers. Leave Scale (%) at 100 and Angle (°) at 0. If either image sits off to the side, choose Center on canvas.

Screen only the field
Select the lower image. Search the catalog for Halftone Dots and add it to that layer. Turn Animate: Halftone Dots off, and leave playback paused at the start. Use these settings:
- Screen size: 0.035
- Angle: 30.00deg
- Ink gain: 0.06
- Ink: #1a2430
- Paper: #efe6d4
- Mix: 100%

Stage 1 — Halftone Dots on the field. The type is still the original pale color.
The dots rebuild the circle and bars. PLATE stays pale because that type belongs to the other layer, whose stack is still empty.
Recolor only the lettering
Select the upper image. Add Duotone and turn Animate: Duotone off.
- Shadows: #1c2430
- Highlights: #f2c14e
- Tonal balance: 0.42
- Transition: 0.35
- Mix: 100.00%

The headline, the rule, and the small type shift toward gold. The screened shapes underneath do not take that color. Disable Duotone if you want the original pale type back without touching the field.
Add one finish to the whole poster
Select Global Stack. Add Film Grain and turn Animate: Film Grain off. Keep playback at the start. Film Grain follows playback time, so a later frame will not match this still.
- Strength: 0.08
- Grain size: 0.200%
- Chroma: 0.05
- Shadow weighting: 0.35
- Seed: 37
- Refresh rate: 24.00Hz
- Mix: 70.00%
The grain sits on the type and the screened shapes together. Disable Film Grain when you want to compare the two layer stacks without that shared finish.
Export a still
Use Quick Export and choose PNG. These examples match the source dimensions. Another size is available within the limits of the renderer on your Mac. The browser demo can export too. The desktop studio is where separate layer stacks and the rest of the catalog come together.
One expanded effect is remembered while you switch layers. That open state is not saved with the project. Collection sites stay on one image and one collection. This recipe does not use a keyframe timeline.
Read why the studio lives on the desktop, or return to the single-image glitch poster.
How this example was made
The source graphics were made for this exercise with AI assistance and Space Mono lettering. The treatments shown were rendered by Artfkt’s production renderer at 1200 × 1600, with each effect’s Animate switch off and playback at the start. These settings describe the pictured example. They are not permanent defaults, and rendering can vary by device.
Make something unexpected
Keep exploring in Artfkt.
Bring all collections and multiple image layers together in one Mac studio. Build a look, shape its motion, and save your next starting point.