How to Make a Fluted Glass Effect Without Photoshop
Make a fluted glass photo effect in Artfkt for Mac. Compare rib spacing, curvature, and angle with exact settings, a source image, and editable text.

To make a fluted glass effect without Photoshop, open a photograph in Artfkt, add Fluted Glass from Refraction to the image layer, and adjust Rib spacing, Curvature, and Angle. Put your headline on a separate text layer so the picture bends while the lettering stays readable.
This tutorial uses Artfkt for Apple Silicon Macs running macOS 13 or later. Fluted Glass belongs to the desktop collection library and is outside the current free browser demo. The demo includes Glitch, Pixel, and Cameras, editable text, and browser export; it cannot reproduce this glass treatment.
The finished poster above uses the effect’s default geometry. Below, the same photograph shows what happens when you change one control at a time. This is an artistic image distortion: it compresses and expands parts of the picture into repeated ribs. It does not add a physically simulated glass object, frosted diffusion, or colored dispersion.
Choose a photograph with clear edges
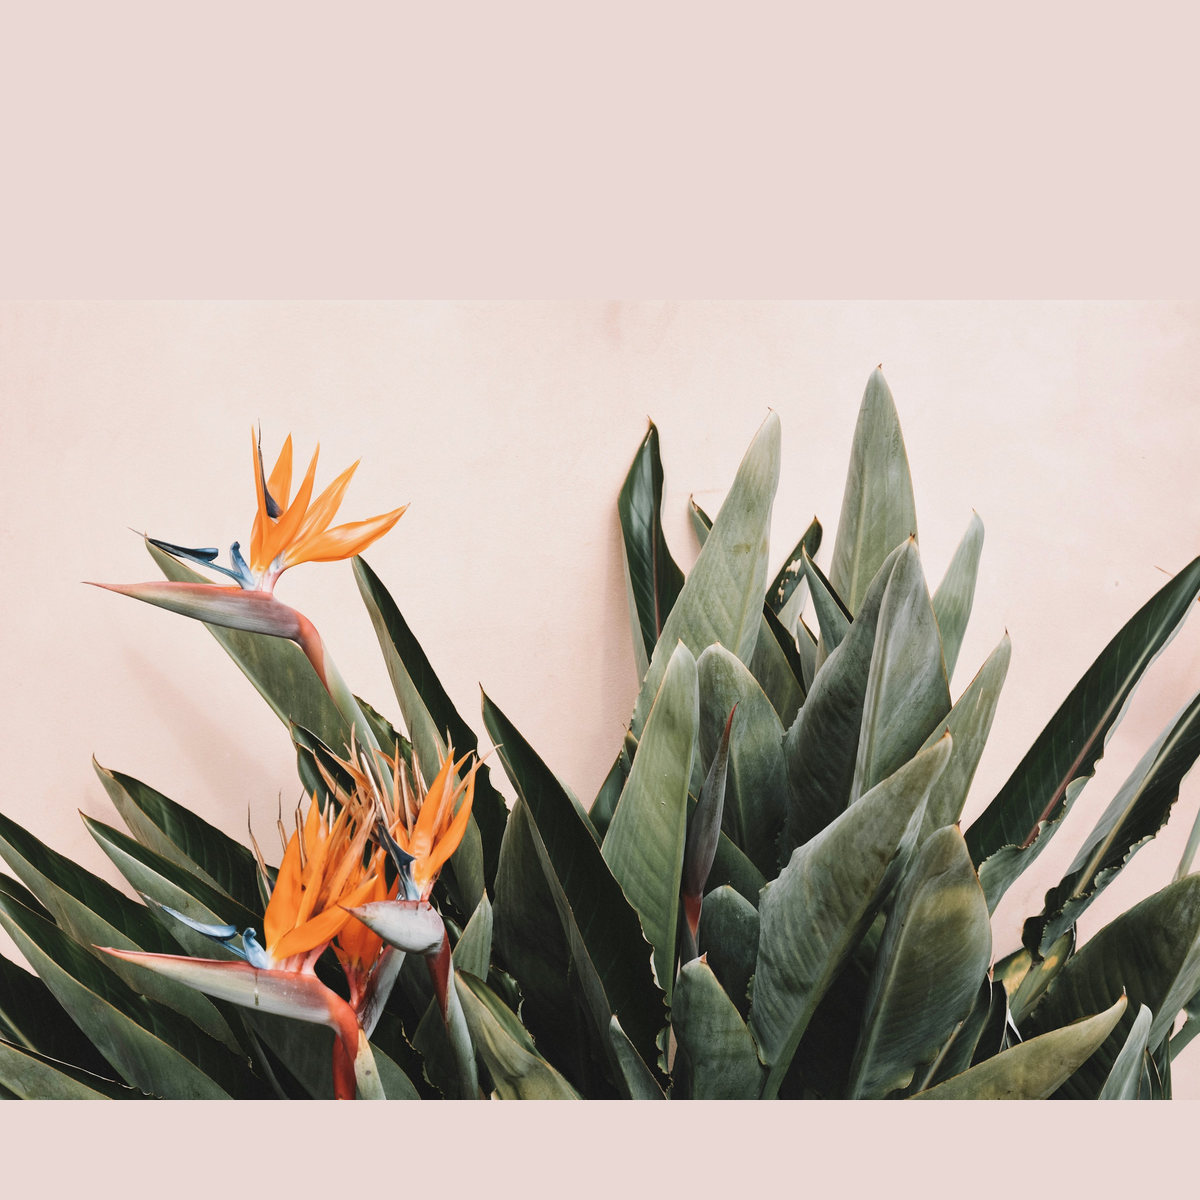
A fluted glass photo effect is easiest to judge where a recognizable shape meets a quieter background. Here, orange petals and long green leaves give us several edges to follow. The pale space around them makes small bends visible.
Download the prepared source PNG
(1200 × 1200, without lettering or effects). Photograph by Content Pixie, used under the Unsplash License. The prepared image places the full photograph on a pale pink square with space for a headline.
Start an empty session and add this PNG. The canvas takes its 1200 × 1200 dimensions. Keep image Scale (%) at 100, rotation at 0°, and the image centered. You can substitute your own photograph, but its edges will meet the ribs in different places.

Untreated reference. The headline settings appear below; its position stays identical in every example.
Start with the default glass recipe
Select the image layer. Search for Fluted Glass in the FX catalog and add it. Keep playback paused at the start, Composition motion off, and Motion: Fluted Glass off. Use these values:
- Rib spacing: 0.085
- Curvature: 0.65
- Angle: 0°
- Mix: 100%
Baseline: spacing 0.085, curvature 0.65, angle 0°. All later comparisons return to these settings before changing one value.
Follow the long leaf reaching toward the right edge. Its outline now curves in and out at regular intervals. The flowers remain recognizable, but their thin petals stretch unevenly. That repeated compression gives the image its reeded glass effect; a plain blur would soften those edges instead of moving them.
Widen the ribs for broader distortion
Change only Rib spacing to 0.170. Leave Curvature at 0.65 and Angle at 0°.

The lower flower becomes a broader orange shape, and the leaves swell over wider intervals. Spacing changes both the distance between repeats and the distance pixels can move at the same Curvature. Wider ribs therefore do not simply remove detail: they reshape larger portions of the subject.
Use this version when you want broad bands to read at a small poster size. Return to 0.085 when the larger shifts obscure a petal or merge neighboring shapes.
Change curvature and angle separately
Stronger curvature
Return Rib spacing to 0.085, then raise only Curvature to 1.00.

Curvature 1.00, with baseline spacing and angle. The repetition stays in place; the distortion becomes stronger.
The tall leaves and the top flower now have conspicuous rippled outlines. Small shapes become harder to follow even though the rib spacing has not changed. For this photograph, 0.65 preserves more of the plant’s structure, so it is the starting recipe and article cover.
Curvature 0 removes this displacement. Negative values reverse the direction of the bends; they are not a blur or a separate frost setting.
Rotate the ribs
Return Curvature to 0.65, then change only Angle to 45°. Keep Rib spacing at 0.085.

Angle 45° changes how the rib pattern crosses the subject without rotating the image layer.
The diagonal treatment also bends the boundary between the photograph and its surrounding pink field. That boundary is part of the prepared image, so it receives the effect too. If you want to avoid this particular seam, use a photograph that fills your entire canvas rather than this prepared layout.
Keep the headline readable
For this glass distortion poster, choose Add → Text, then Edit text. Enter REEDED and confirm with Command+Enter. Use bundled Inter with these settings:
- Font size: 170 px; weight: 800; style: normal
- Color: #193a32; alignment: center
- Letter spacing: 3 px; word spacing: 0 px; line height: 1
- Box width: 1100 px; Auto height
- Scale: 100%; rotation: 0°
- X position: 0; Y position: −490
Keep this text layer above the image, with no effects on the text or Document stack. Fluted Glass belongs only to the photograph’s stack. You can change the words later without rebuilding the image treatment. See effects on editable text for text editing, and separate effect stacks for poster layers for the layer workflow.
Troubleshoot the result
The subject looks too fragmented. Lower Curvature first while keeping your chosen spacing. If a broad bend still swallows a small feature, reduce Rib spacing. Use Mix to blend back the untreated input; Mix at zero bypasses the effect. Judge the export at its intended display size as well as full resolution.
The ribs barely show. Look for an edge crossing the pattern. A uniform background has little detail to bend. Try Angle before increasing Curvature, especially when long shapes follow the ribs.
The lettering bends too. Check where you added the effect. Move it to the image’s stack and leave the separate text layer untreated. A Document effect processes the combined composition.
The frame edge or photo boundary ripples. The effect moves image samples, including boundaries already present in your source. Inspect all four edges; use a full-frame photograph or a different crop if a boundary distracts from the subject.
It looks warped rather than frosted. That is the implemented treatment. Fluted Glass moves picture detail; it does not add a frosting or surface-lighting control. Explore the Refraction collection for other glass treatments.
Export your poster
Choose Quick Export → PNG for a still at the source dimensions. Check the downloaded image at full size and at the size you will use it. Keep an Artfkt project if you want to revise the lettering and settings later.
Explore Refraction to see how it fits into Artfkt’s collection library, or use the purchase action below. This tutorial’s effect requires the desktop app; export itself is already included in the free browser demo.
How these examples were made
Artfkt rendered all five 1200 × 1200 examples through its effect engine using the same prepared photograph, bundled Inter lettering, paused time zero, and disabled effect animation. Each comparison changes one geometry control from the baseline. The renders used WebGPU; results may vary by device. AI assisted the writing, composition, and capture tooling. The photograph is credited to Content Pixie above.
Make something unexpected
Keep exploring in Artfkt.
Bring all collections and multiple image layers together in one Mac studio. Build a look, shape its motion, and save your next starting point.