How to Make a Risograph Poster Effect on Mac
Screen a still life with two inks in Artfkt for Mac, tint an editable headline to match one ink, and swap the pair without rebuilding the treatment.

To make a risograph poster effect in Artfkt for Mac, add Risograph to the picture and set an editable headline to one of the same inks. You can change the ink pair later without removing the effect.
Risograph builds that look from two colored screens and a paper color. It does not export a grayscale plate for each ink, so the result is not a file to send to a risograph printer. Artfkt runs on Apple Silicon Macs with macOS 13 or later. The free collection demo stays on one image and does not include this effect or editable text.
Place the still life
Download the still-life PNG
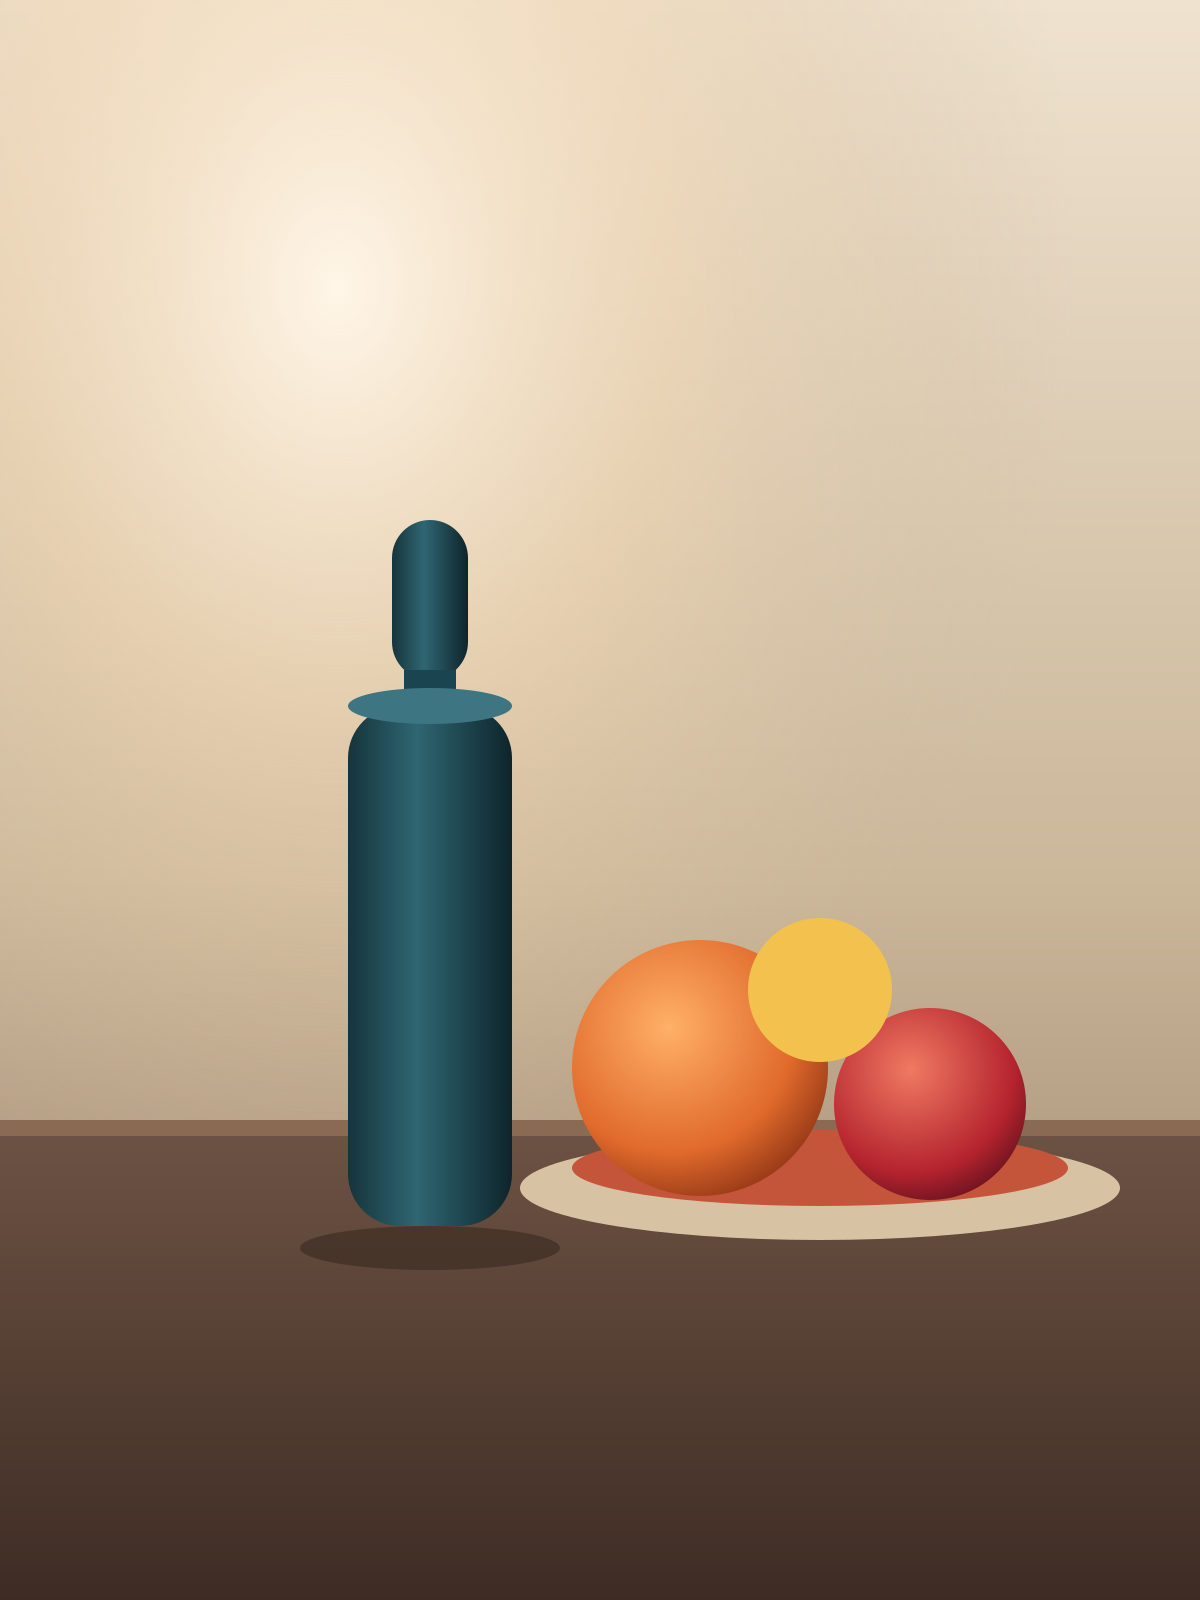
(1200 × 1600). It is a drawn bottle, three pieces of fruit, and a plate. Use your own picture the same way. Large, recognizable shapes survive the screen better than small detail.

Start a new session and add the picture first. An empty canvas takes that image’s size, so the poster becomes 1200 × 1600. Leave Scale (%) at 100 and Angle (°) at 0. If the picture sits off to the side, choose Center on canvas.
Add the headline on its own layer
Choose Add → Text. Choose Edit text, type STILL, and press Command+Enter. Keep Inter selected. This example uses the bundled font, so no download is needed. In Active Layer, enter these settings, and set the position after the type:
- Font size: 220 px
- Font weight: 800
- Color: #1c1916
- Alignment: center
- Letter spacing: 18 px
- Word spacing: 0 px
- Line height: 1
- Box width: 1000 px; Auto height
- Scale: 100%; Rotation: 0°
- X position: 0; Y position: 520

Leave Shared animation off and playback paused at the start. The headline stays editable after the picture is treated. Add effects to editable text shows how to revise the words and save the project.
Screen only the picture
Select the picture in Layers. Search the catalog for Risograph and add it to that layer. Turn Animate: Risograph off. With Animate on, Misregistration follows playback instead of the number you enter, so a later frame will not match this still.
- Screen size: 0.016
- Angle: 18.00deg
- Misregistration: 0.008
- Ink texture: 0.40
- Ink balance: 0.00
- First ink: #17566a
- Second ink: #e65742
- Paper: #f3dfb8
- Seed: 37
Keep First ink, Second ink, and Paper fully opaque.

The dots rebuild the bottle, the fruit, and the table. STILL stays solid because that type belongs to the other layer. Angle sets the first ink’s screen; the second ink’s screen sits 60 degrees away from it. Raise Screen size for coarser dots. If a shape disappears into the screen, lower Screen size or start with a larger shape. Misregistration offsets the two inks. Ink balance shifts how much each ink contributes, and Seed changes the texture pattern.
Treat each poster layer with its own effect stack uses the same separation for a different finish.
Tint the headline to one ink
Select the text layer. Change Color to #e65742, the second ink. Leave the picture’s stack alone.
The headline now uses the second ink. The picture’s screens are unchanged.
The word reads as part of the print, and it is still editable text. Change the letters later and the color stays.
Swap the ink pair
Select the picture again. Change only the three colors below. Then set the headline Color to the new second ink, #d6246e. Do not remove Risograph, and leave the screen settings as they are.
- First ink: #0e4d3c
- Second ink: #d6246e
- Paper: #f4e8cc

The same screen, with a green and pink pair. The headline follows the new second ink.
To reuse the picture’s stack on another image, select that layer and open My Artfkts. Choose Save current FX…, name the stack, and save it. On the next picture, open My Artfkts, select that Artfkt, and Apply with Replace or Append. This copies the effect onto one layer at a time. It does not export a folder of images.
Export a still
Use Quick Export and choose PNG. These examples match the source dimensions. Another size is available within the limits of the renderer on your Mac. The PNG is the finished look. It is not a set of printer plates.
One expanded effect is remembered while you switch layers. That open state is not saved with the project. This recipe does not use a keyframe timeline.
Read why the studio lives on the desktop.
How this example was made
The still life was drawn for this exercise with AI assistance. The headline was set in bundled Inter and rasterized with the studio’s text layout. The treatments shown were rendered by Artfkt’s production renderer at 1200 × 1600, with Animate off and playback at the start. These settings describe the pictured example. They are not permanent defaults, and rendering can vary by device.
Make something unexpected
Keep exploring in Artfkt.
Bring all collections and multiple image layers together in one Mac studio. Build a look, shape its motion, and save your next starting point.