How to Add a Light Leak Effect to a Photo
Add warm film light leaks along any edge of your photo in the browser. Position the streak, soften contrast with Faded Film, and export a PNG free.
TL;DR
- Place a light leak along an empty corner with Position while keeping Edge fog low so the glow never forms a flat orange border.
- Soften deep digital blacks slightly with Faded Film before the leak and tie the frame together with fine Film Grain.
- Open the light leak recipe in your browser, swap in any photo, and export a PNG free.

To add a realistic light leak effect to a photo, anchor the flare off-center along a quiet edge with Light Leak (Edge fog 0), lift digital black points gently with Faded Film first, and texture the added color with Film Grain. All three effects live in the Grain collection. The worked light leak recipe applies them on a dark botanical frame so you can load your own image and export a PNG free.


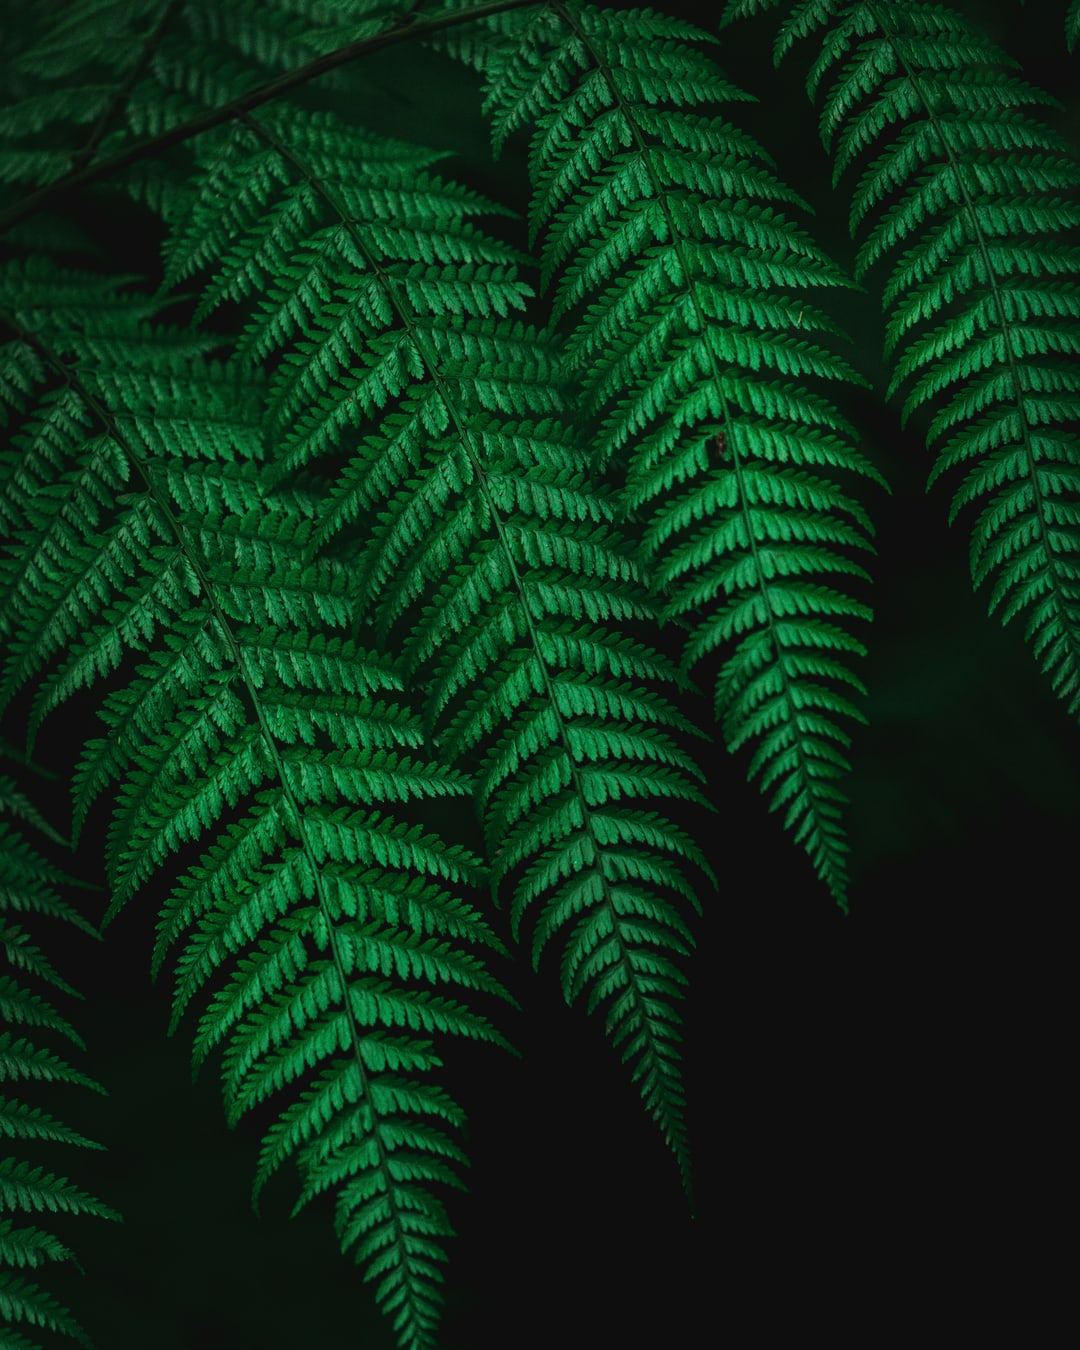
Add a light leak to your photo. It opens with this botanical photograph ready; choose Open photo to replace it while keeping the effects intact, or download the practice photo (1080 × 1350 JPG). Photograph by David Becker via Unsplash.
Why real camera light leaks do not wrap every edge equally
When light sneaks past a film camera door hinge or foam seal, it enters from one side or corner with a bright core and an angled streak—not as a uniform rectangle border around all four sides. Raising Edge fog too high turns a natural flare into a heavy border overlay, whereas keeping Edge fog at 0 lets Position, Spread, Streak, and Falloff aim the burn exactly where your composition has room.
- Faded Film (Black lift
0.07, Highlight fade0.08) slightly compresses digital blacks before any light is added, echoing real negative shoulder/toe response. - Light Leak sets the optical leak color (
#ff7a29amber-orange), entry coordinate Position (x: 0.06, y: 0.36), ray Streak (0.72), and Falloff (1.75) so the center of the fern stays clear. - Film Grain (Grain size
0.0024, Shadow weighting0.65) textures both the original shadows and the warm burn together. For pure optical highlight bloom without edge color leaks, compare Halation vs Bloom and our film grain guide.
Moving the leak side and shifting from sharp streak to wide haze
Adjusting Position, Color, and Edge fog changes whether a leak behaves like a tight sprocket slit or an accidental open-back fogging:


If a leak hides faces or main subjects, move Position toward a sky margin, dark jacket, or corner shadow, and keep Falloff above 1.4 so the glow drops quickly toward center frame.
Put a custom light leak on your own photo
- Open the light leak recipe in your browser and choose Open photo. All rendering stays local on your device (see
/privacy/for site analytics info). - Expand Light Leak in Active FX. Drag Position to place the burn along whichever margin has breathing room, or pick a red-orange (
#ff331f) or cool cyan leak Color. - Balance Strength (
1.35) and Spread (0.65). Keep Edge fog at0for directional leaks, or nudge it slightly (0.10–0.20) when imitating light seepage across multiple film borders. - Keep Faded Film subtle unless you want a strongly muted print, and export via Export → PNG (a small Artfkt watermark is on by default and can be toggled off free in Settings → Export Settings).
| Effect | Parameter | Value |
|---|---|---|
| Faded Film | Black lift | 0.07 |
| Faded Film | Highlight fade | 0.08 |
| Faded Film | Saturation | 0.92 |
| Faded Film | Warmth | 0.16 |
| Faded Film | Mix | 0.70 |
| Light Leak | Edge fog | 0 |
| Light Leak | Strength | 1.35 |
| Light Leak | Position | (0.06, 0.36) |
| Light Leak | Spread | 0.65 |
| Light Leak | Streak | 0.72 |
| Light Leak | Falloff | 1.75 |
| Light Leak | Color | #ff7a29 |
| Film Grain | Grain size | 0.0024 |
| Film Grain | Strength | 0.16 |
| Film Grain | Shadow weighting | 0.65 |
| Film Grain | Mix | 0.85 |
How is this different from a static overlay PNG?
Static light-leak overlays force you into a fixed corner shape and aspect ratio, often tinting pure blacks muddy gray unless you tune blend modes manually. Generating the leak mathematically in WebGPU lets you place the streak anywhere cleanly at full canvas resolution and fine-tune grain and fade independently. Desktop adds saved reusable Looks, animated Drift export, masks, and full project saving across all 392 effects.
Should Film Grain sit before or after Light Leak?
Placing Film Grain after Light Leak (as in this recipe) applies texture across both the photograph and the added exposure flare, avoiding a plasticky smooth gradient sitting on top of silver grain.
Start with your own photo
Place warm film burn on a quiet edge.
Try Faded Film, side-anchored Light Leak and Film Grain on your photo and export a PNG free. Desktop adds saved projects and custom looks.